
Fast-Track pyRevit System™

Lesson 8
Framework for creating new pyRevit tools
Written Summary
The 7-Step Framework for Building pyRevit Tools 🛠️
We're finally diving into pyRevit development — and I know you want to jump straight into the code editor. But let's take one step back first.
In this lesson, I'll introduce you to the framework I use for every single tool I build. It takes any rough idea — even a weak one — and turns it into a working, robust, stress-tested tool. Follow these 7 steps and you'll get better results, in less time, with way more predictable outcomes.
Forget perfect code on the first try
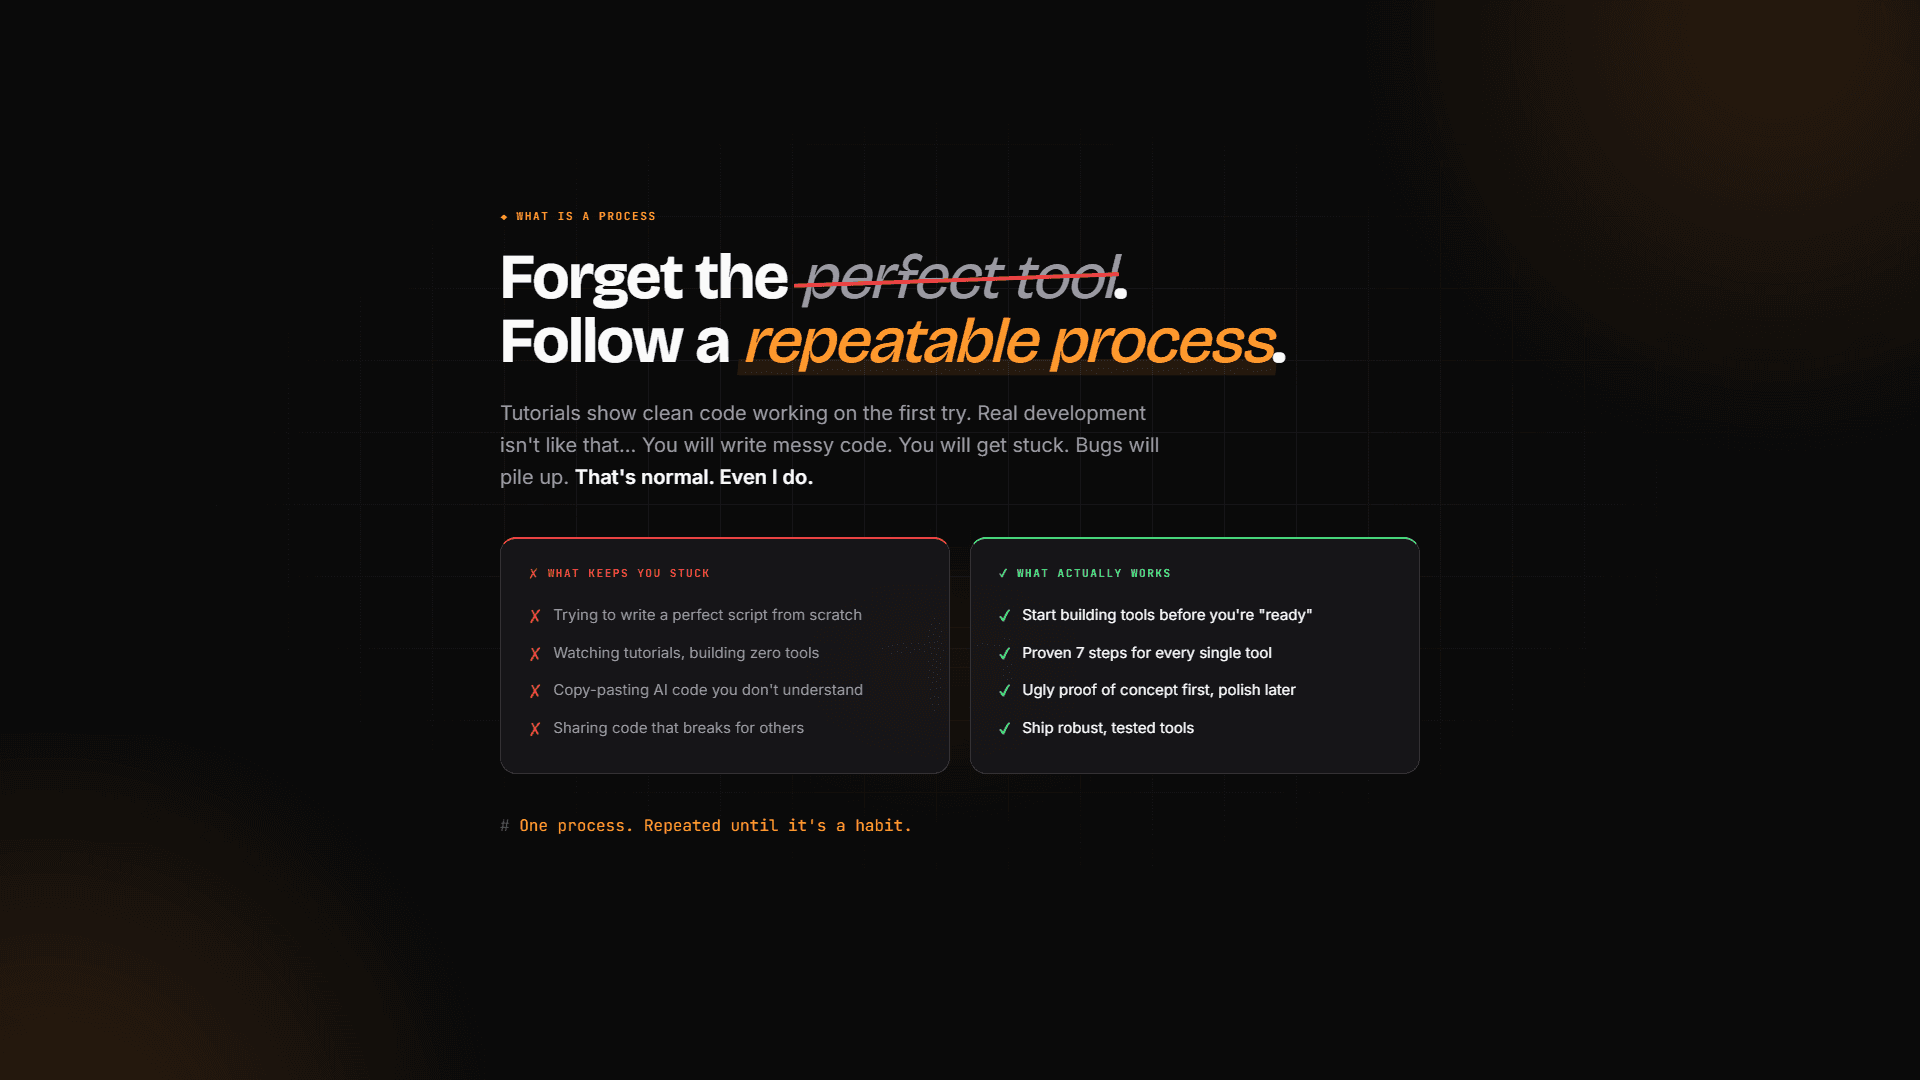
Here's the truth: perfect code on the first try doesn't happen. Tutorials show you clean code working immediately, but real development isn't like that.
You'll write messy code. You'll get stuck. Bugs will pile up. That's normal — even I go through all of that. It's just part of the process that tutorials usually skip (and I get it, I make tutorials too — that's just how tutorials work).
What keeps people stuck:
Trying to write a perfect script from scratch
Watching tutorials but building zero tools
Copy-pasting AI code without understanding it — that's a recipe for disaster when you share tools with your team
What actually works is building tools before you feel ready. We'll always start with an ugly proof of concept first and polish it later. That's how you ship robust, tested tools.
The 7 steps at a glance
Every tool starts with one idea, and then goes through the same seven steps:
Plan — define what you're doing and why
Research — steal like an artist, find all the help you can get
Outline — pseudo-code in plain English, no code yet
Code — quick and dirty, just prove it works
Edit — polish, add features, optimize
Stress Test — break it in every way possible before anyone else can
Ship — put it in production and let people use it
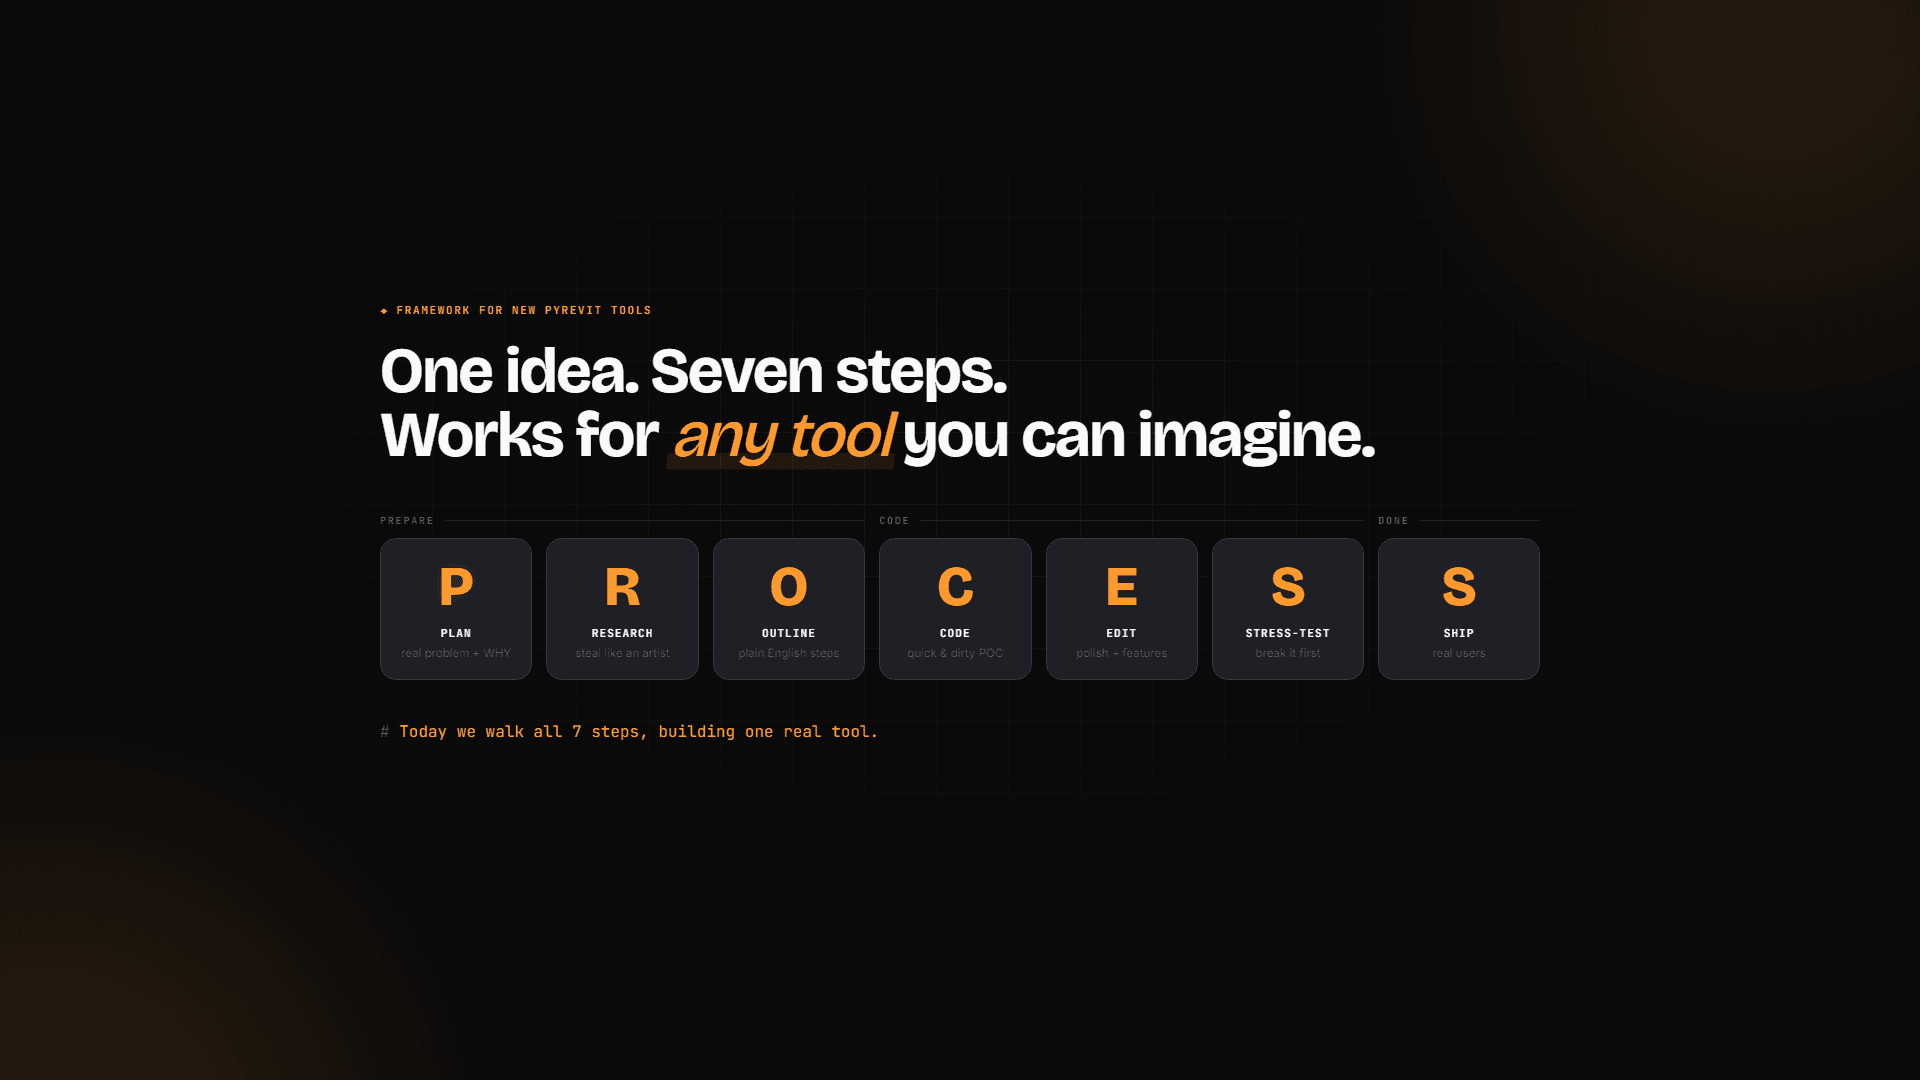
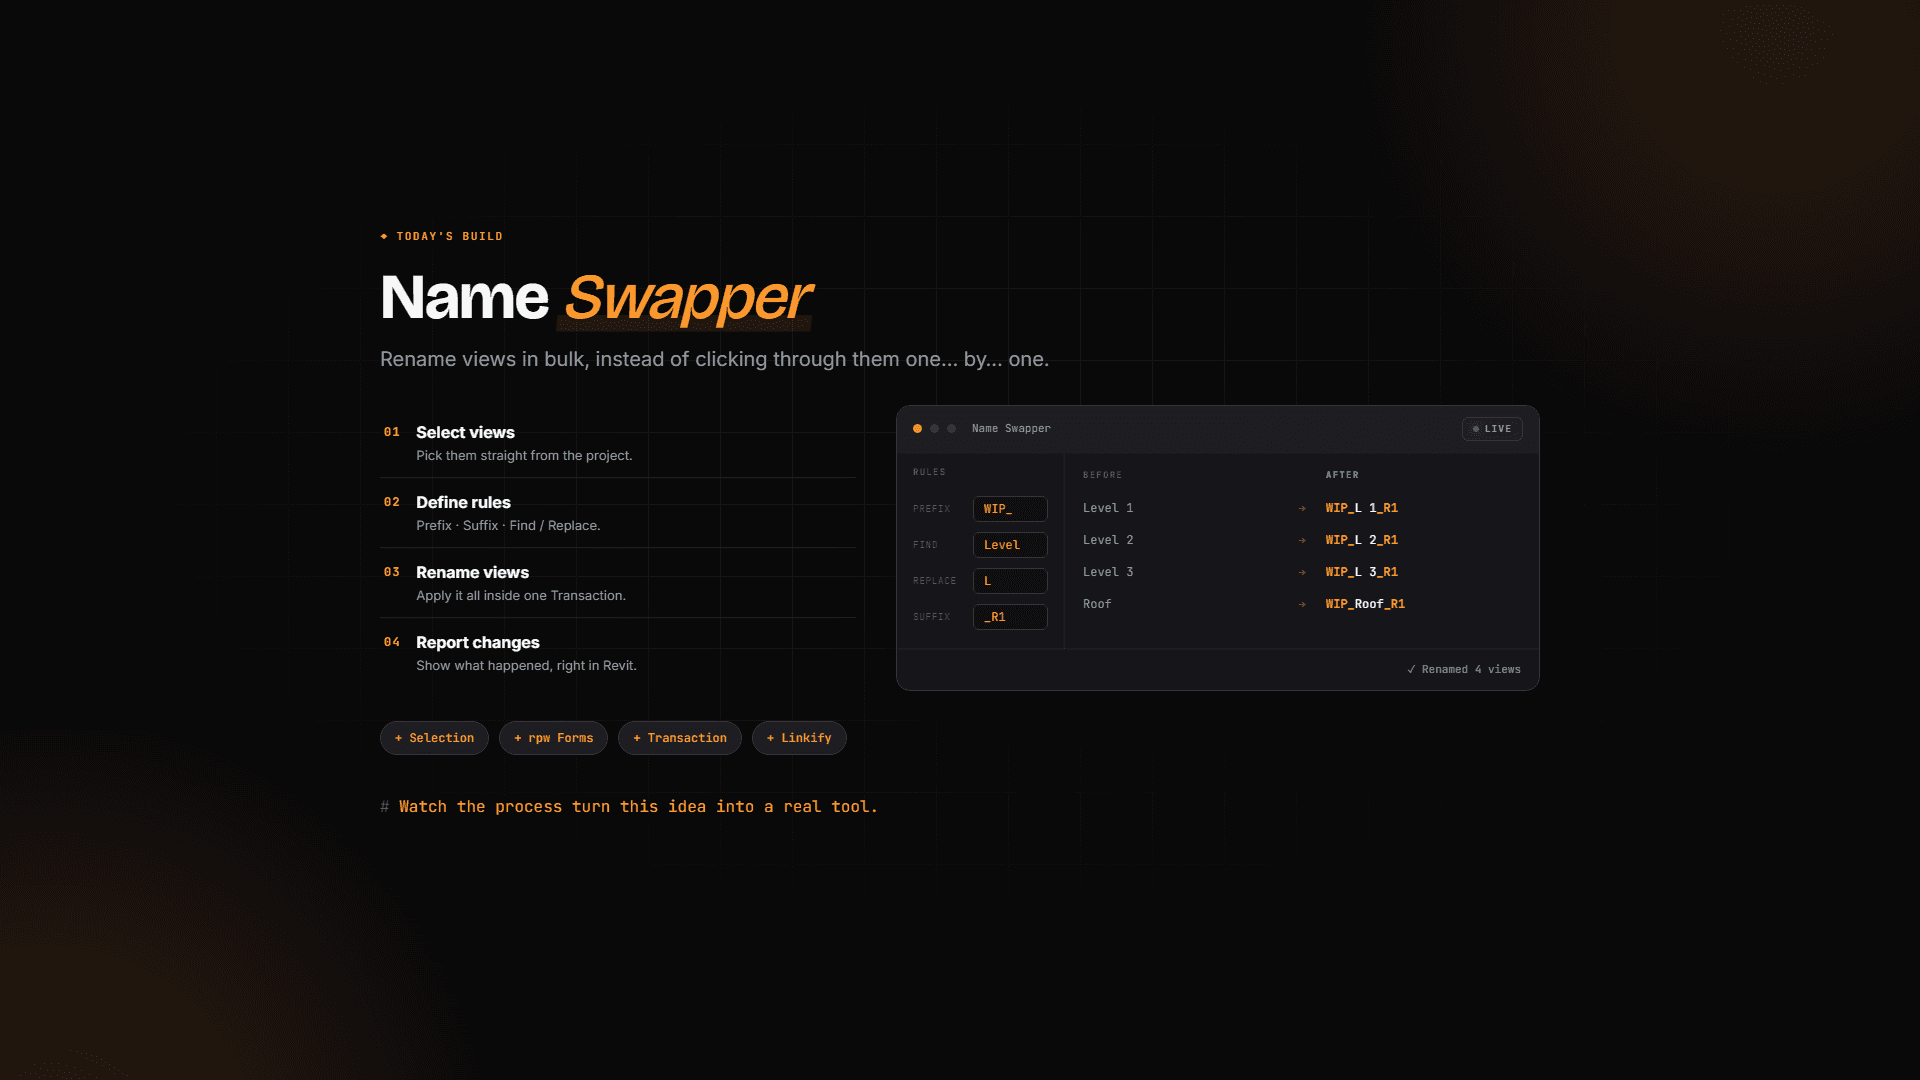
It works for any tool you can imagine. Now let's walk through all seven steps on a real tool we're going to build: NameSwapper. It renames views in bulk instead of you clicking them one by one — select views, define renaming rules, rename, and report what changed. One button click.
Step 1: Plan based on a real problem
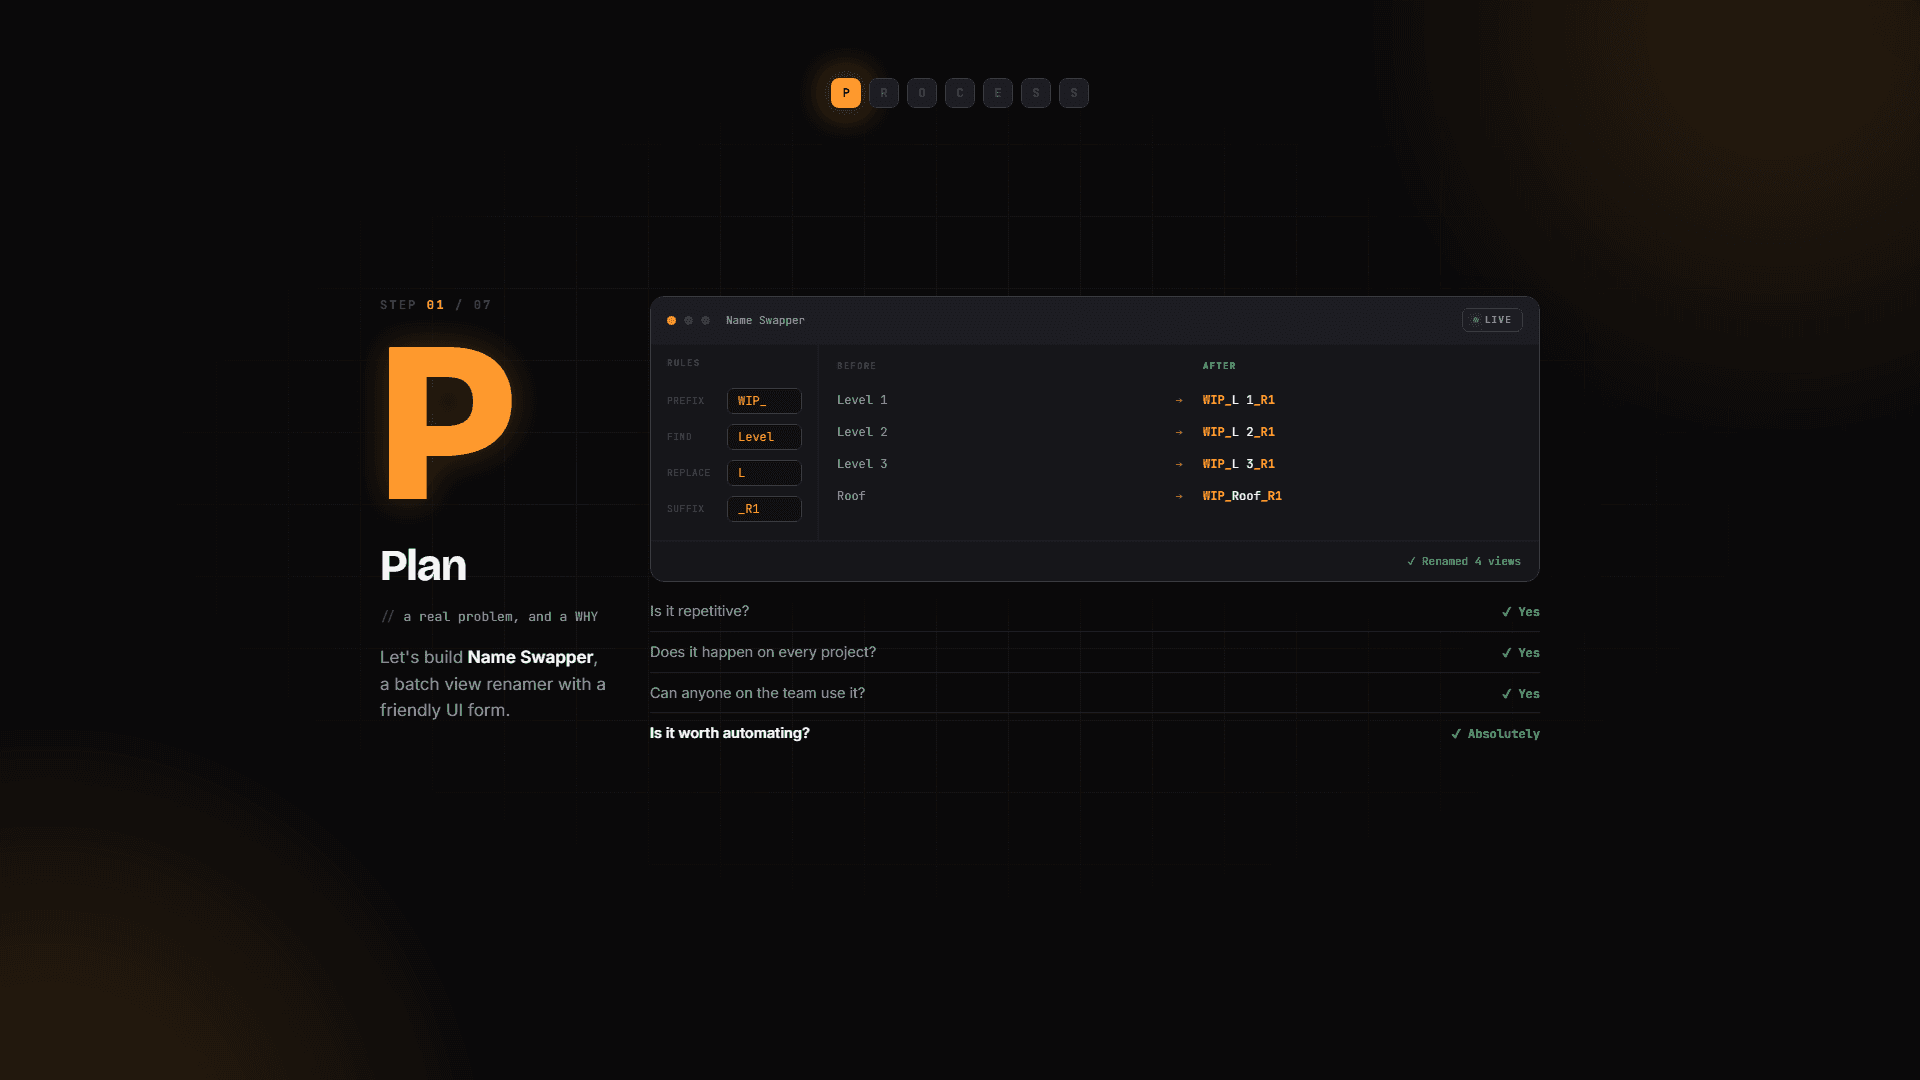
Before opening the code editor, define the real problem and understand why you're even automating it.
For example: every project is full of views, and renaming them by hand is really tedious. Standards change, new batches get created, requirements shift. So the plan: one tool to rename views in bulk, with a friendly UI so anyone on the team can use it.
Then decide if it's worth automating. Ask yourself:
Is it repetitive? ✅ Yes
Does it happen on every project? ✅ Yes
Can anyone on the team use it? ✅ Yes
Is it worth automating? ✅ Absolutely
💡 Tip: Make sure you're solving a real problem. Sometimes we build tools, look at them, and go "hmm, not exactly what I expected." Planning first saves you from that.
Step 2: Research — steal like an artist
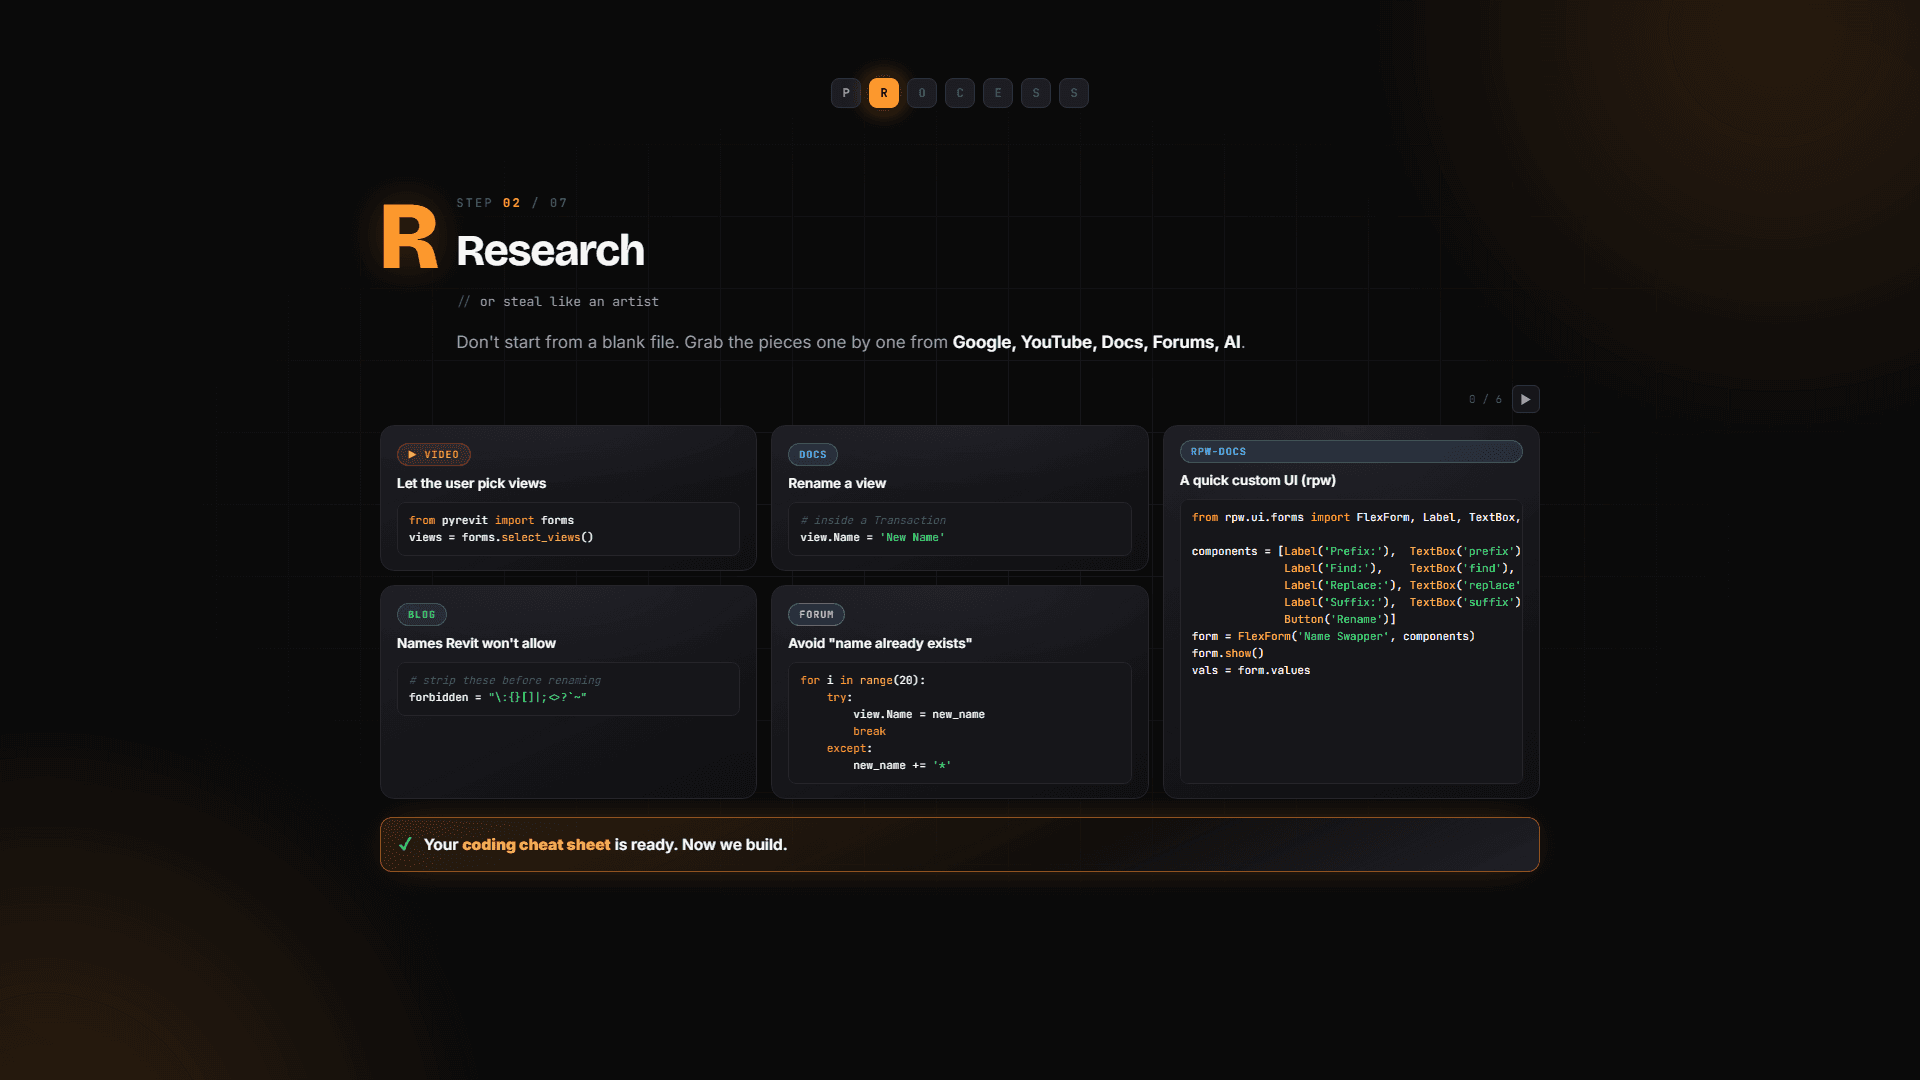
Look everywhere: Google, YouTube, the docs, forums — and nowadays, mostly AI doing the research for you. Often there's already an existing tool that does pretty much the same thing, or at least one of your steps is solved somewhere.
For NameSwapper, research might turn up:
A video showing how to select views with pyRevit
A blog post revealing there are forbidden symbols for view names
Examples of how to handle a name that already exists
Documentation showing you can rename views with the
.Nameproperty — no parameters or methods neededHow to create simple UI forms
Don't spend too much time here. Just gather something useful — you can feed it to AI later to help it help you, and at minimum you'll understand the problem better yourself.
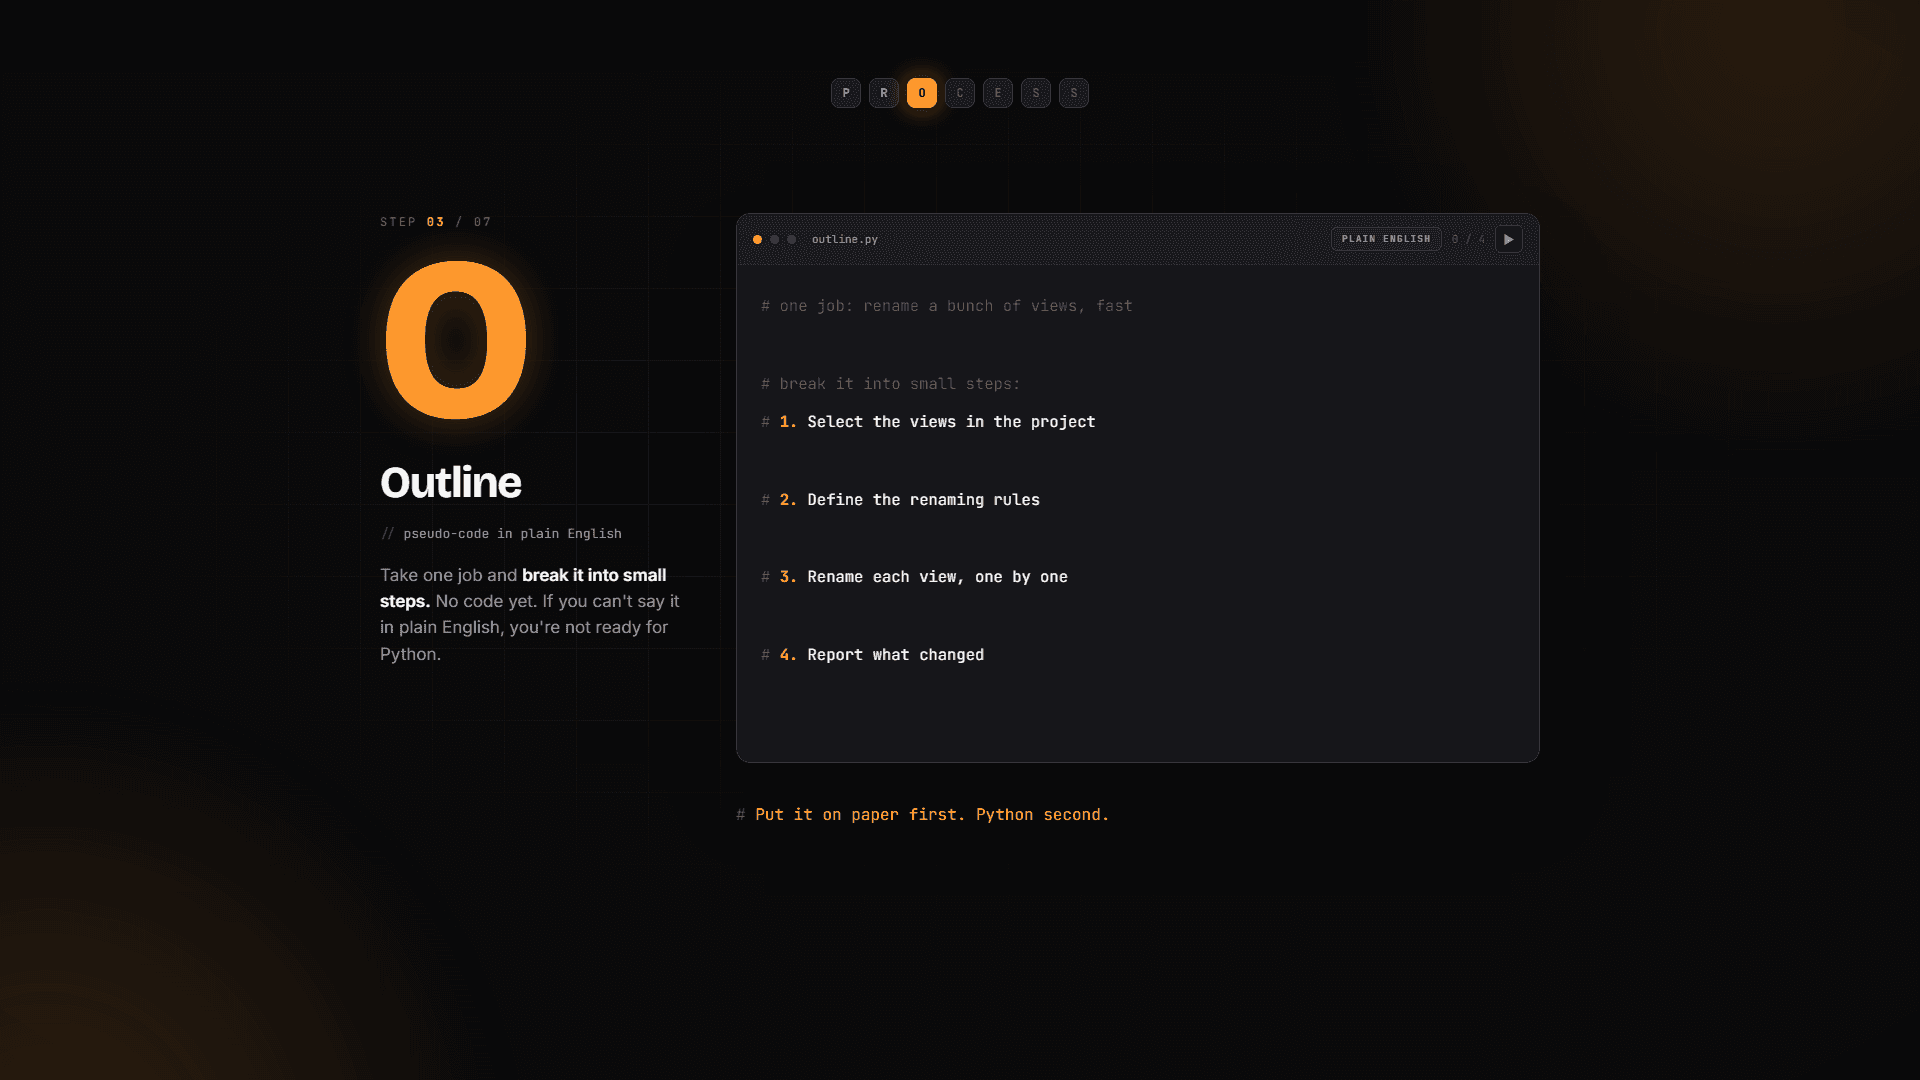
Step 3: Outline in plain English
No code yet. If you can't put your tool into plain English, you're not ready to write Python either.
This is a classic programming concept: take one big problem and break it into as many small problems as possible. For NameSwapper:
Select views in the project
Define renaming rules (hardcoded or with a UI form)
Rename each view one by one
Report what changed
Write it on paper if you want. These steps will literally become the structure of your code — you can even type them as comments in your editor right away.
Step 4: Code — quick and dirty 🚀
The goal here is a proof of concept, fast. Don't spend days trying to make the first steps perfect. Skip steps, hardcode values — if it's ugly, that's totally fine. Build it one step at a time.
Selecting views? Research already showed us it's two lines with pyRevit forms. Rules? Just hardcode something to test with. Here's what the ugly-but-working version looks like:
Notice the Transaction. Since we're making changes to a Revit project, we have to wrap them in one — by default your code can't change anything. That's the beauty of the Revit API: it has safeguards so beginners can't mess up a project without even knowing it.
⚠️ Important: Focus on proof of concept first. Early in my journey, I tried building something like DiRoots ProSheets before it existed — and spent nearly two weeks on a perfect UI form before realizing I had no idea how to actually make the PDFs. I had to abandon it. If I'd built the proof of concept first, I'd have known on day one and moved on to other tools.
Once this runs and gives you results — even if it breaks half the time — you know what's going on, and you're ready for the next phase.
Step 5: Edit — now you can polish
Once the proof of concept works, now we polish. Swap hardcoded values for a real UI form, add features, optimize. We can afford to spend time on the UI now because we know everything else is achievable.
The progression usually looks like this:
Proof of concept (ugly, hardcoded)
Add the UI layer
Improve the output — tables instead of raw prints, maybe linkify elements so you can select and open views quickly
Slowly arrive at the final tool
Step by step, without jumping too fast.
🖼️ [IMAGE: Side-by-side progression of NameSwapper — hardcoded POC output, then with a UI form, then the polished version with a table report]
Step 6: Stress test — break it before your users do
Many people stop after editing and send the tool to the team. And that's where you get the weird looks: someone clicks your button, gets a scary error, and thinks "did I break something?" You'll look at it and go "oh, just a typo" — but they don't know that. They'll be scared to ever click your button again.
So we break it ourselves first. And honestly, it's mostly the same things that break on nearly every tool:
The user selects nothing and breaks your form
The user closes the UI too early without selecting correctly
The new name already exists in the project
The name contains forbidden symbols
Once you know the issues, solving them is way easier than finding them:
And clean user inputs so forbidden symbols never make it into a view name in the first place.
Go through your code step by step and logically dissect it. If there's a UI — how can someone break it? If there's a step that gets elements — what if it gets none? What if there are no such elements in the project at all? What if they picked the wrong ones?
💡 Tip: At first this feels painful, but it gets very repetitive fast — the same handful of issues come up again and again. Spend enough time here; this is what makes your tools production-ready. (And in pyRevit School we go through the whole debugging protocol with the most common places where code breaks.)
🖼️ [IMAGE: Friendly forms.alert dialog saying "No views selected" — compared next to a raw Revit API error traceback]
Step 7: Ship it
The most exciting step. Put your tool in production, add it to the toolbar, and let other people use it. The stress test passed, you can't break it anymore — and if some user still finds a way, you fix it and move on. Totally fine.
This is where you bring value at scale, even while you sleep. A regular Revit user spends X hours and gets Y results — and there's a limit to how far that goes. With code, there's no limit: you write it once, and it produces results over and over. For you, your team, maybe multiple offices, maybe everyone you share it with. That's the beauty of programming.
These are the 7 steps to create any pyRevit tool from scratch. Repeat them until they're a habit — it'll happen naturally anyway, but if you're conscious about it, it'll happen much sooner.
What's next
Enough theory — in the next lesson we're going to build it together. Time to create your first pyRevit tools, step by step. See you there!