
Understand the logic inside pyRevit script Template so you can use it for your tools.


Lesson Summary
pyRevit Script Anatomy
Today, we're diving into something really important: pyRevit script anatomy.
In this lesson, I'll walk you through some pre-made templates that I've prepared for you and explain you pyRevit's meta tags.
These templates will be a huge time saver in all your future projects, so you don't have to start with a blank page every time.
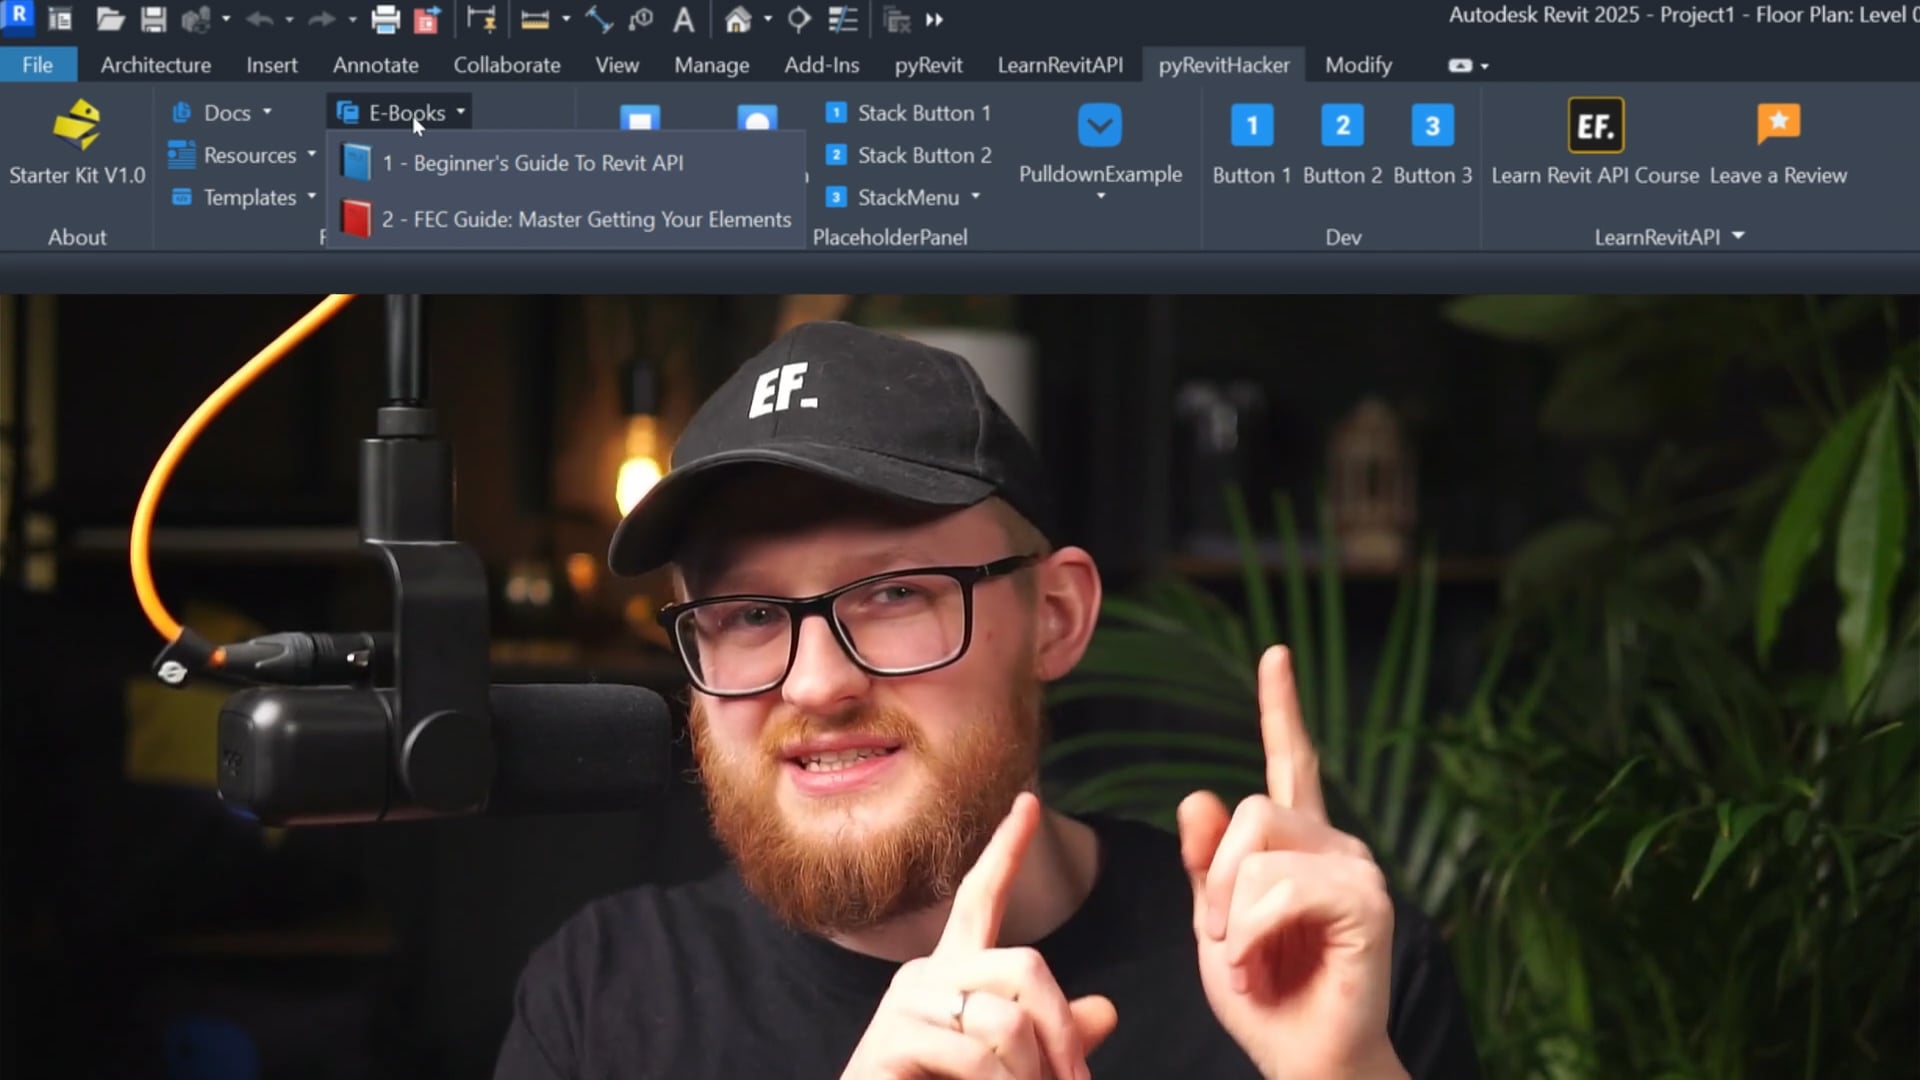
Open the Templates
Here are the buttons to open up the pyRevit templates I've prepared.
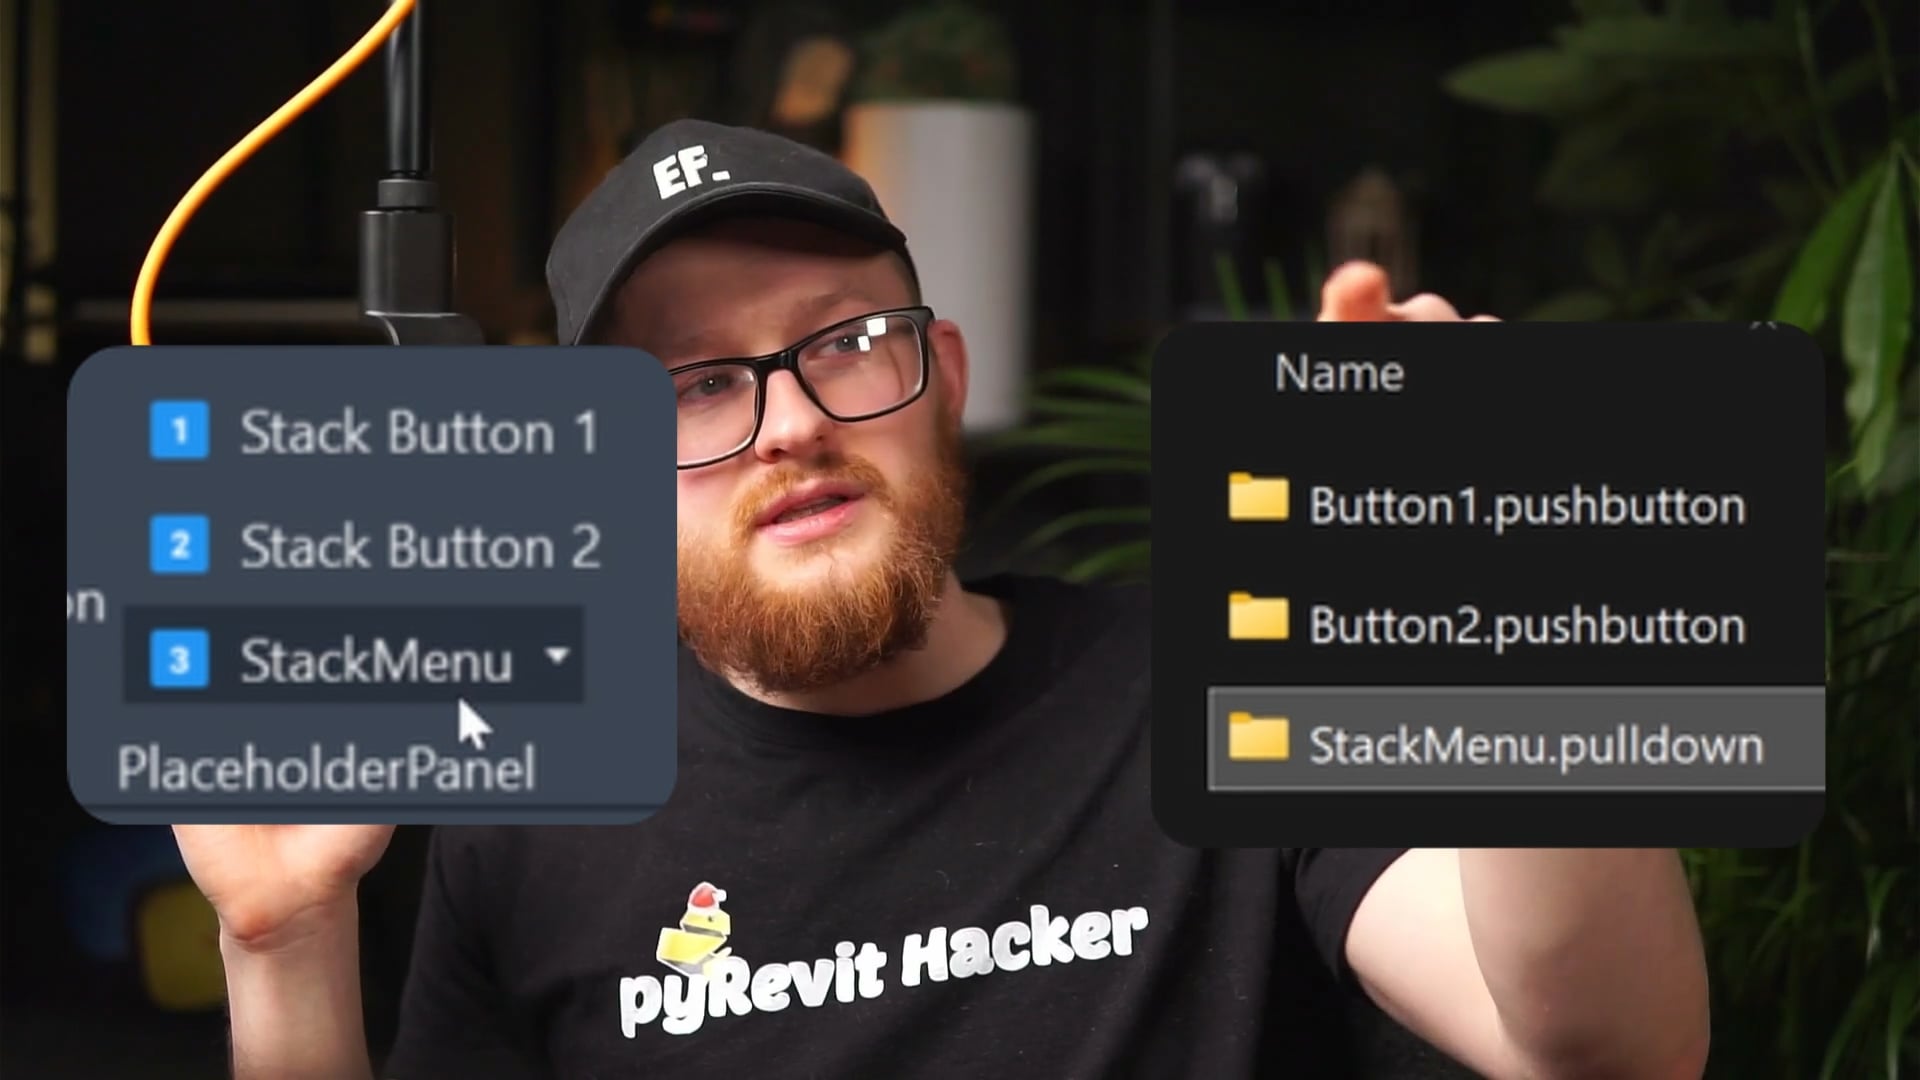
pyRevit Template.min
pyRevit Template.full
min Version is the regular template you will be using where you put only the most essential imports, variables and other things.
full Version is more an educational examples, where I've placed all pyRevit meta tags, and tried to leave as many comments as possible.
💡No matter what version you begin with,
make sure you adjust it to your own needs over time.
Let's break down these templates and I will explain each part.
UTF-8 Encoding
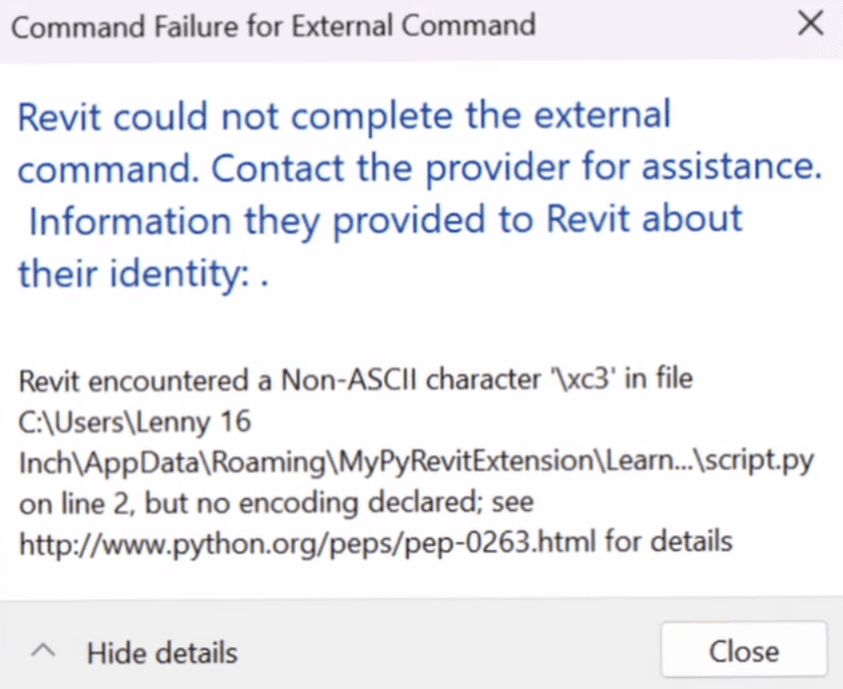
You will notice in both themplate the first line defines UTF-8 encoding.
If you are not familiar, in IronPython, we need to explicitly declare encoding. UTF-8 is the standard which will allow you to use non standard ASCII characters like German, Russian, Chinese and other special characters.
You can get away without specifying it, but eventually you might get an error like this 👉
👇pyCharm will also point it out to you:

💡If you will use CPython engine, you won't need to define UTF-8 encoding, but keep in mind that it's still under development and not as stable.
__title__ and __doc__
Next up are title and doc pyRevit meta tags. These are used to define your button's name and tooltip.
Usually people keep tooltip information short, but I like to break it down into multiple sections and provide more information like this:
This way users can get used to this, and always know that they can learn what is the button, how to use it and other upcoming or updated features.
Common Imports
Next we need to import classes for our script. This includes Autodesk, pyrevit and even .NET imports.
It's best to only include only the most used imports in your template to keep it neat. So feel free to remove what you don't need.
But as a beginner, you can also put everything here so you don't have to remember where something comes from. And then slowly adjust to only most essential imports.
But I strongly recommend you to leave .NET List import, because it's hard to remember by heart where it comes from. And while you won't need it in every script, it's very often required as an argument in Revit API methods.
💡Also keep in mind that there are many classes that can be located in discipline specific namespaces like Architecture, Structure, Mechanical, Electrical and many others…
You can always check in Revit API Docs where they come from
Variables
Now, let's talk about the three common variables you'll need:
doc - Document, representing open projects. (used to relate to projects)
uidoc - UIDocument, representing projects in Revit UI (used for selection and other interaction with the UI)
app - Application, representing the Revit application iself (used for application-wide settings like Background color, Revit Year, Revit Language, Path to Shared Parameter File and so on…
💡Pro Tip: Specify type hinting using the following syntax so your IDE can give you auto-suggestions by knowing what type of an object it is.
Structuring Your Code
The more readable you can make your code, the easier it is to maintain it.
Personally, I like to organize my code with large ASCI-Art text blocks to separate into sections like Imports, Variables, Functions and so on. And on smaller scripts I use emojis.
This is purely personal preference, and not a python standard at all. Python experts are probably going to go against it, but I know that many beginners love it, because it makes it so much easier to navigate, especially when you watch my tutorials.
To create these ASCI-Art blocks, you need to install pyCharm/VS Code plugin called - FigLET or use online generators.
Once you have the plugin you can select your text and click on [ALT] + [Insert] Keys and select FigLet plugin. Then select Calvis S font for ASCII-Art.
Honestly, I haven't seen anyone use it like that, but I like it for some reason.
To create Emojis anywhere on windows, you can hold [WIN-Key] + [Dot] and it will open Emoji browser to choose from.
You can start typing something like 'arrow', 'box', 'target' to find what you need quicker.
pyRevit Meta Tags
We've covered everything in the Template.min, now let's focus on the full template and explore pyRevit Meta tags. I won't go in much detail, because you can read mroe in the pyRevit Docs: IronPython Anatomy
But here are the most useful ones:
Questions
Do you always start with a template?